No Sew Chicken Costume
I made this rooster/chicken costume for my daughter to wear in a school play many years ago and after rummaging through some old pictures decided to share. It was so cute on her! It could also be used as a Halloween Costume.
Supplies and instructions are below. Pictures are of my finished costume.


Supplies:
Be sure you have you child try on the hat, white tee, tutu, pants, and flops before you begin.
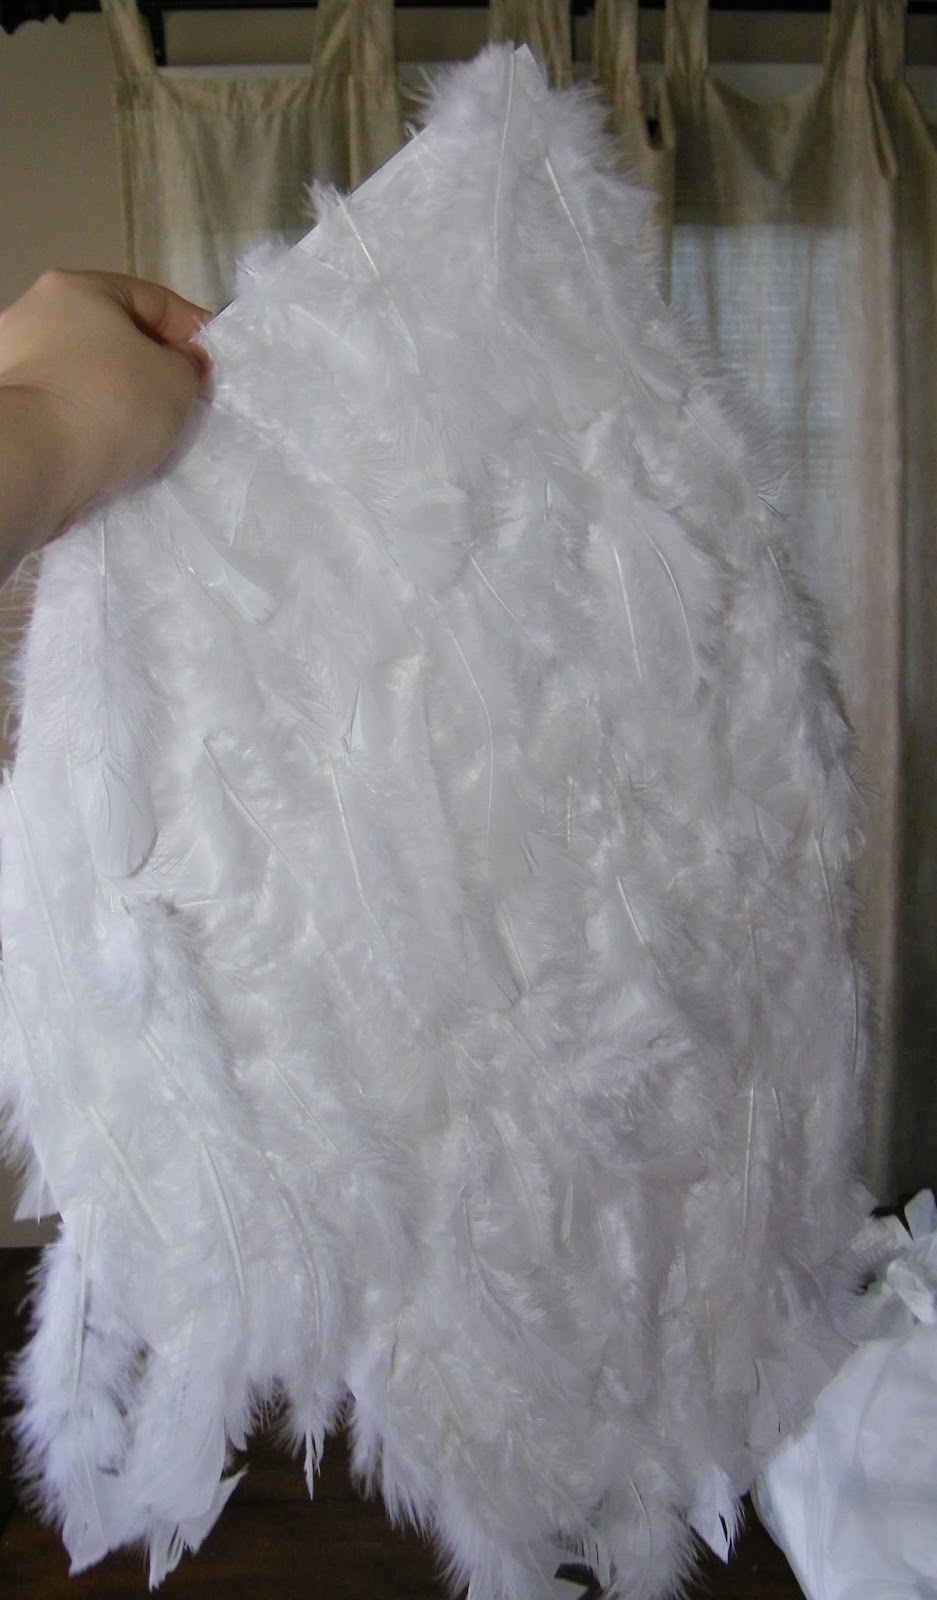
1. Cut the poster board into two wings and a tail keep in mind the size of your child's arms and body size. Also cut 4 strips to later attach to the wings after the glue on the feathers dry.
2. Use craft glue to glue on white feathers to the hat, wings, tail, and shirt. Leave some of the bottom shirt plain without feathers so it can be tucked in later.
3. Glue the tail on the shirt leaving a small part of the shirt plain without feathers so the shirt can be tucked in. Fill in gaps with more feathers. The tail should hang out of the shirt over the tutu or pants.
4. Cut or use 2 thick orange felt banners (like sport banners you would hang up on a wall) one over the bill of the hat and one under the bill of the baseball hat to create a beak. Attach with craft glue allowing the feathers to cover it or add a few feathers to fill in any gaps.
5. Take two pieces of thick red felt and place them together cut out the cone shape through both pieces at the same time. Glue them together except leave a small opening to stuff the inside with pillow stuffing, leftover wadded up papers, even lefter scraps of felt etc. (like if you were making a pillow) then glue closed. Allow to dry and then glue on top of the hat. Fill in with more feathers around it if needed.
6. Using thick red felt overlapping cut out two waddles just be sure to reverse them before gluing on the hat. Glue the wattles on underneath the feathers and fill in gaps with feathers.
7. Glue on 2 buttons for the eyes.
8. After the glue is dry on the wings flip them over and ask your child to hold the wings up to their arms one at a time and measure to see where the strips should be attached. After you have marked the placement glue 2 strips onto each wing to use like a cuff to hold on the wings. Their arms will slide into the strips. One strip should be higher up the arm than the other. Allow to dry with the strips facing up or hang to dry. They should be able to flap their wings after it dries and they put the wings on.
9. You will need the orange flip flops and 2 pieces of overlapping felt. Cut out 2 pointy tipped feet and cut a small hole to attach to the flips flops. If you look on the bottom of flip flops they have a small piece where they attach. Cut a small hole in the felt foot so you can attach the felt over the small piece like buttoning a shirt and it will stay on without glue that way you can reuse the flip flops later since you didn't glue them. If you'd prefer you can glue them on.

Or you can just use shoes if you'd like.
10. For a girl use a tutu or skirt with tights, pants, or capris for the legs. If a boy just omit the tutu and use orange pants such as sweat pants or pjs.
Craft Creation and photos by Julie Hodges
Supplies and instructions are below. Pictures are of my finished costume.
- white baseball style hat (found mine at Michaels Craft Store)
- tons of white feathers
- 2 large pieces of white poster board to cut out 2 wings and 4 strips to hold on the wings and for the tail
- white tee shirt extra long
- orange tutu if for a girl
- orange tights, pants, or capris
- orange flip flops if for a girl
- 2 sheets of thick orange felt for the feet
- 2 orange banners or really large pieces of stiff felt for the beak
- 2 sheet of thick red felt for the cone and wattle
- 2 large buttons for the eyes
- scissors
- craft glue
- pillow stuffing or waded up paper for stuffing the cone
- pencil for tracing design if desired
Be sure you have you child try on the hat, white tee, tutu, pants, and flops before you begin.
1. Cut the poster board into two wings and a tail keep in mind the size of your child's arms and body size. Also cut 4 strips to later attach to the wings after the glue on the feathers dry.
2. Use craft glue to glue on white feathers to the hat, wings, tail, and shirt. Leave some of the bottom shirt plain without feathers so it can be tucked in later.
3. Glue the tail on the shirt leaving a small part of the shirt plain without feathers so the shirt can be tucked in. Fill in gaps with more feathers. The tail should hang out of the shirt over the tutu or pants.
4. Cut or use 2 thick orange felt banners (like sport banners you would hang up on a wall) one over the bill of the hat and one under the bill of the baseball hat to create a beak. Attach with craft glue allowing the feathers to cover it or add a few feathers to fill in any gaps.
5. Take two pieces of thick red felt and place them together cut out the cone shape through both pieces at the same time. Glue them together except leave a small opening to stuff the inside with pillow stuffing, leftover wadded up papers, even lefter scraps of felt etc. (like if you were making a pillow) then glue closed. Allow to dry and then glue on top of the hat. Fill in with more feathers around it if needed.
6. Using thick red felt overlapping cut out two waddles just be sure to reverse them before gluing on the hat. Glue the wattles on underneath the feathers and fill in gaps with feathers.
7. Glue on 2 buttons for the eyes.
8. After the glue is dry on the wings flip them over and ask your child to hold the wings up to their arms one at a time and measure to see where the strips should be attached. After you have marked the placement glue 2 strips onto each wing to use like a cuff to hold on the wings. Their arms will slide into the strips. One strip should be higher up the arm than the other. Allow to dry with the strips facing up or hang to dry. They should be able to flap their wings after it dries and they put the wings on.
9. You will need the orange flip flops and 2 pieces of overlapping felt. Cut out 2 pointy tipped feet and cut a small hole to attach to the flips flops. If you look on the bottom of flip flops they have a small piece where they attach. Cut a small hole in the felt foot so you can attach the felt over the small piece like buttoning a shirt and it will stay on without glue that way you can reuse the flip flops later since you didn't glue them. If you'd prefer you can glue them on.
Or you can just use shoes if you'd like.
10. For a girl use a tutu or skirt with tights, pants, or capris for the legs. If a boy just omit the tutu and use orange pants such as sweat pants or pjs.
Craft Creation and photos by Julie Hodges

Comments
Post a Comment
feedback